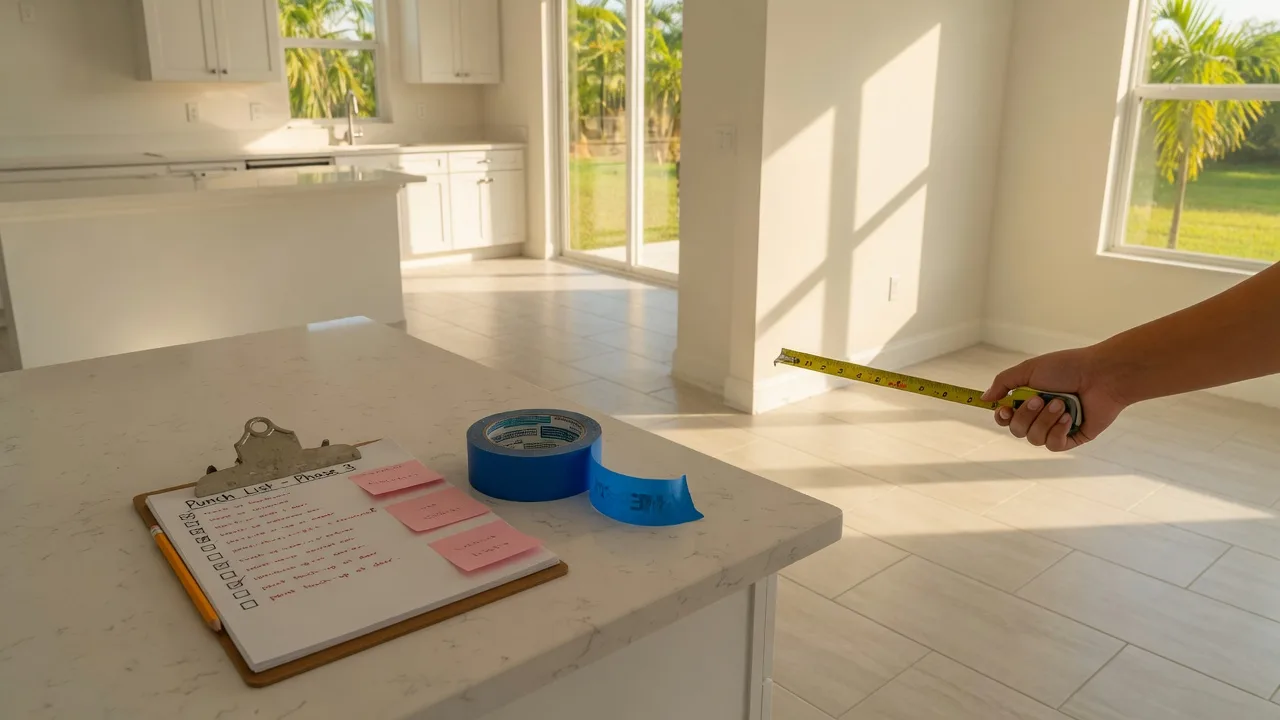
The final walkthrough is the last structured chance to inspect a new home before you take ownership, and for most buyers it is the moment the house stops feeling like a model and starts feeling like a responsibility. This guide covers when the walkthrough happens, what to check in each area, how to document findings, how punch lists work before and after closing, what to do if issues are found, and what closing day looks like for a new build. It is educational context, not legal advice: review your contract and warranty documents, and ask your agent and attorney about the specifics of your transaction.
When the final walkthrough happens
The final walkthrough usually happens one to three days before closing, and at many builders a representative walks the home with you. Some buyers do it twice: a full walk a few days before, then a quick verification on closing morning, especially to re-check punch list items. The walkthrough is separate from the other two inspection checkpoints covered elsewhere on this site: the pre-drywall inspection during construction, when the framing and mechanicals are still visible, and the third-party pre-closing inspection in the weeks before closing. The walkthrough is your own eyes on the finished product, and it should verify that the house is complete, clean, and matches what you selected. Book it as soon as the builder offers the appointment, so you have time to flag issues before the closing date.
What to check at the walkthrough
Bring a checklist, blue painter's tape, your phone for photos, and your contract and selections so you can confirm what is installed matches what you chose. Work through the house room by room rather than wandering, and check the outside as carefully as the inside. The main areas:
- Finish details: paint colors and coverage, drywall seams, trim and baseboards, doors and door hardware, caulk, grout, and tile; look for gaps, scratches, and uneven work.
- Windows and doors: open and close every window and door, check locks and screens, look for cracked glass and proper weather seals, and confirm sliding doors track smoothly.
- Systems: run the HVAC in both heat and cooling modes, test every outlet, switch, GFCI, and breaker, check the electrical panel is labeled, and flush every toilet and run every faucet, including exterior hose bibs.
- Appliances and fixtures: confirm the appliances you selected are installed and working, test the stove, dishwasher, microwave, refrigerator, and disposal, and check lighting fixtures and exhaust fans.
- Cabinets, counters, and plumbing: open every cabinet and drawer, check alignment and hardware, inspect counters for chips or stains, and look under sinks for leaks.
- Flooring: walk every floor for soft spots, squeaks, gaps, scratches, and poor transitions, and check carpet seams and stains.
- Garage and exterior: test the garage door, opener, and safety sensors, and check the driveway, walkways, patio, railings, siding, stucco, gutters, downspouts, and roof flashing.
- Grading and drainage: confirm the ground slopes away from the foundation on all sides, with no standing water or low spots that will hold water against the house.
- Everything on the prior punch list: re-check every item from earlier walks and confirm completed work is finished to your satisfaction.
How to document issues
Mark every issue with blue painter's tape and log it in writing at the same time, one line per issue with the location and a description. Take photos with your phone, timestamps on, for each item plus overall room and exterior shots. Compare the installed home against your contract, options, and design center selections item by item, because the walkthrough is the time to catch a swapped cabinet finish or a missing appliance kit. Ask the builder's representative to acknowledge the written list, get a copy at the end of the walk, and keep your own.
How punch lists work
A punch list is the itemized record of incomplete, defective, or unsatisfactory work the builder agrees to correct. During the walkthrough, you and the builder's representative compile it, and the builder assigns each item to the responsible trade and tracks it to completion. Cosmetic items, paint touch-ups, cabinet adjustments, and small fixes go on the list. Anything that affects the home's function or safety is a separate, more serious matter that should be resolved before or at closing.
Not every punch item can be completed before closing. A backordered appliance, sod that cannot be laid in season, or a custom part on order are typical examples; those are documented on the list to be completed after closing. Before you close with significant items outstanding, ask for the completion terms in writing, and consider a repair guarantee or a holdback, where a portion of funds is held until the work is done. Ask for before and after photos of completed repairs, and confirm who to contact in the builder's customer service department for post-closing work.
What happens if issues are found at the walkthrough
Issues at the walkthrough fall into two buckets. Functional or safety problems, such as a leaking roof, mis-wired outlets, an HVAC system that does not work, or standing water against the foundation, should delay closing until they are resolved, and most builders will fix them before you sign because closing is the point where responsibility transfers. Cosmetic and finish issues, such as paint, grout, trim, scratches, and adjustments, go on the punch list and are fixed after closing within a stated window.
If a serious issue appears and the builder wants to close anyway, you have options: refuse to close until it is fixed, agree to close with the fix scheduled and documented in writing, or work with your attorney on a repair agreement or holdback. The key is to have the resolution in writing before you sign. If the issue turns up after closing instead of at the walk, it becomes a warranty matter, and the clock on the builder's warranty starts at closing, so report problems promptly in writing and keep your dated record.
What closing day looks like for a new build
Closing on a new build is usually a same-day event at the title company or the closing attorney's office, and it typically takes a few hours. The sequence is familiar: a final verification walk on closing morning, the signing of the deed, the promissory note and mortgage, and the Closing Disclosure, then funding, recording of the deed with the county, and the handover of the keys. You bring the balance of your down payment and closing costs by wire transfer or cashier's check, and you receive the keys once the deed is recorded, typically the same day if closing happens before the recorder's office cutoff.
Before closing, review the Closing Disclosure against your loan estimate and the builder's numbers, and question any line that changed. On a new build, the county's property tax bill can also need adjustment when the assessed value includes the improvements, so your escrow may differ from a resale, and your lender and closing agent will walk through those numbers. Bring your driver's license, your list of remaining punch items, and your questions. Closing day is your last chance to resolve discrepancies before the keys change hands.
After closing: the punch list continues
Post-closing punch work is normal and expected. Keep documenting anything you notice in the first weeks, and report it promptly to the builder's customer service team; the first month is the key window for small items. The builder's warranty starts at closing, typically around one year on workmanship, two years on major systems, and longer on structure, so a dated log of issues from day one protects you when the warranty clock matters. Many buyers do a formal end-of-first-year inspection and submit a final list before the one-year workmanship coverage expires, and the builder warranties guide on this site covers what that coverage typically includes.
Related reading on this site
Related reading on this site
- The new construction inspection checklist: pre-drywall, pre-closing, and final walk
- New home builder warranties in Florida: what is covered, for how long
- Deposits and closing costs on new construction
- From contract to closing: the Central Florida new build timeline
- Ask the GPG Team what to expect at a Central Florida builder's final walkthrough

Written by Tyler Gibson
Florida-licensed Realtor, team leader, and investor with 150+ transactions. Have a new-construction question this guide did not answer?